
Public Land Trail Cams 101
In preparation for my 2016 limited entry bull elk hunt in my home state of Washington I really hit the trail camera game hard. I bought new cameras and borrowed many others. Without being any sort of trail camera pro I did my homework; whether it be asking people on social media, listening to podcasts, or simply researching on the internet. I had a total of 8 cameras out starting in late May. Some failed but some produced thousands of photos. There was a lot of trial and error for me this past spring and summer so that is why i'm writing this, to hopefully help out a handful of hunters trying game cams out for the first time.
Facing south west
Finding a potentially productive spot won't be your biggest challenge. Putting boots on the ground and finding active trails, watering holes, and feeding areas is a great place to start. Once you find areas of high elk traffic camera placement on the tree maybe the part that ends up biting you in the butt. It is an aspect of trail cameras that can be easily overlooked. You may think to yourself, just set it on a tree and point it towards the game trail or watering hole, but there is much more to it than that. From my experience angling your camera at a 45 degree angle facing the game trail may be your best bet. Instead of facing the camera directly down the game trail ('Figure A') place your camera on a tree that provides your camera with a wider margin for error. The angle to the trail will give your camera more area to snap multiple pictures of the critter as it passes by. Also having your camera facing at a 45 degree will allow you to have a better side profile of your buck or bull. 'Figure B' is a photo from one of my most successful cameras; it was on a very heavily used game trail that went from a bedding area to a feeding area. Finding that sweet spot on the tree may require a few test photos but in the long run its totally worth it. The camera in 'Figure A' could have been farther away from the trail, up higher on the tree and angled towards the game trail like 'Figure B'.

Figure A camera facing north
Figure B camera facing south
This game camera was one of my most successful cameras it was at an intersection of four heavily used game trails leading towards water in one direction and a meadow in another. I had to do a tad bit of limb trimming to get the cameras view cleared of any interference which is why I always pack a small saw with me when going to hang cameras. Game trails that lead from water or feeding areas to bedding areas were the most effective throughout spring and summer. Figure C was a camera set on a heavily used game trail leading to a meadow.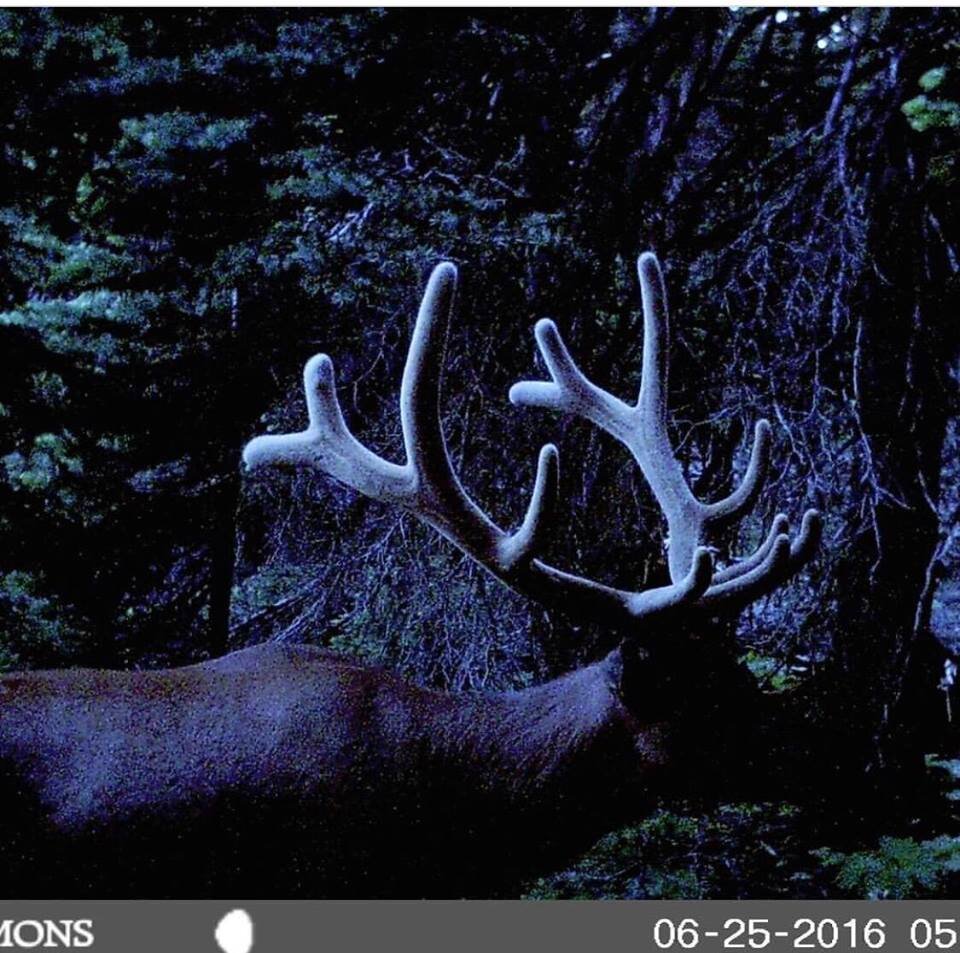
Figure C facing north.
There a few things to be aware of that may effect the ability and success of your trail cameras. Harsh shadows or sun bursts can trigger your camera producing thousands of pictures of absolutely nothing, while also draining your batteries. There are settings for motion sensitivity on cameras but typically I like mine on the medium setting. In rare instances of finding an area where you are forced to hang the camera facing the sun or where you know shadows will form, I will put the camera on the Low Sensitivity setting. Also, make sure you trim all the branches, ferns, and under brush that could potentially sway in the wind triggering your camera. There is nothing more disheartening than opening up your camera to dead batteries and no pictures of critters because of one little branch you didn't take the time to trim away.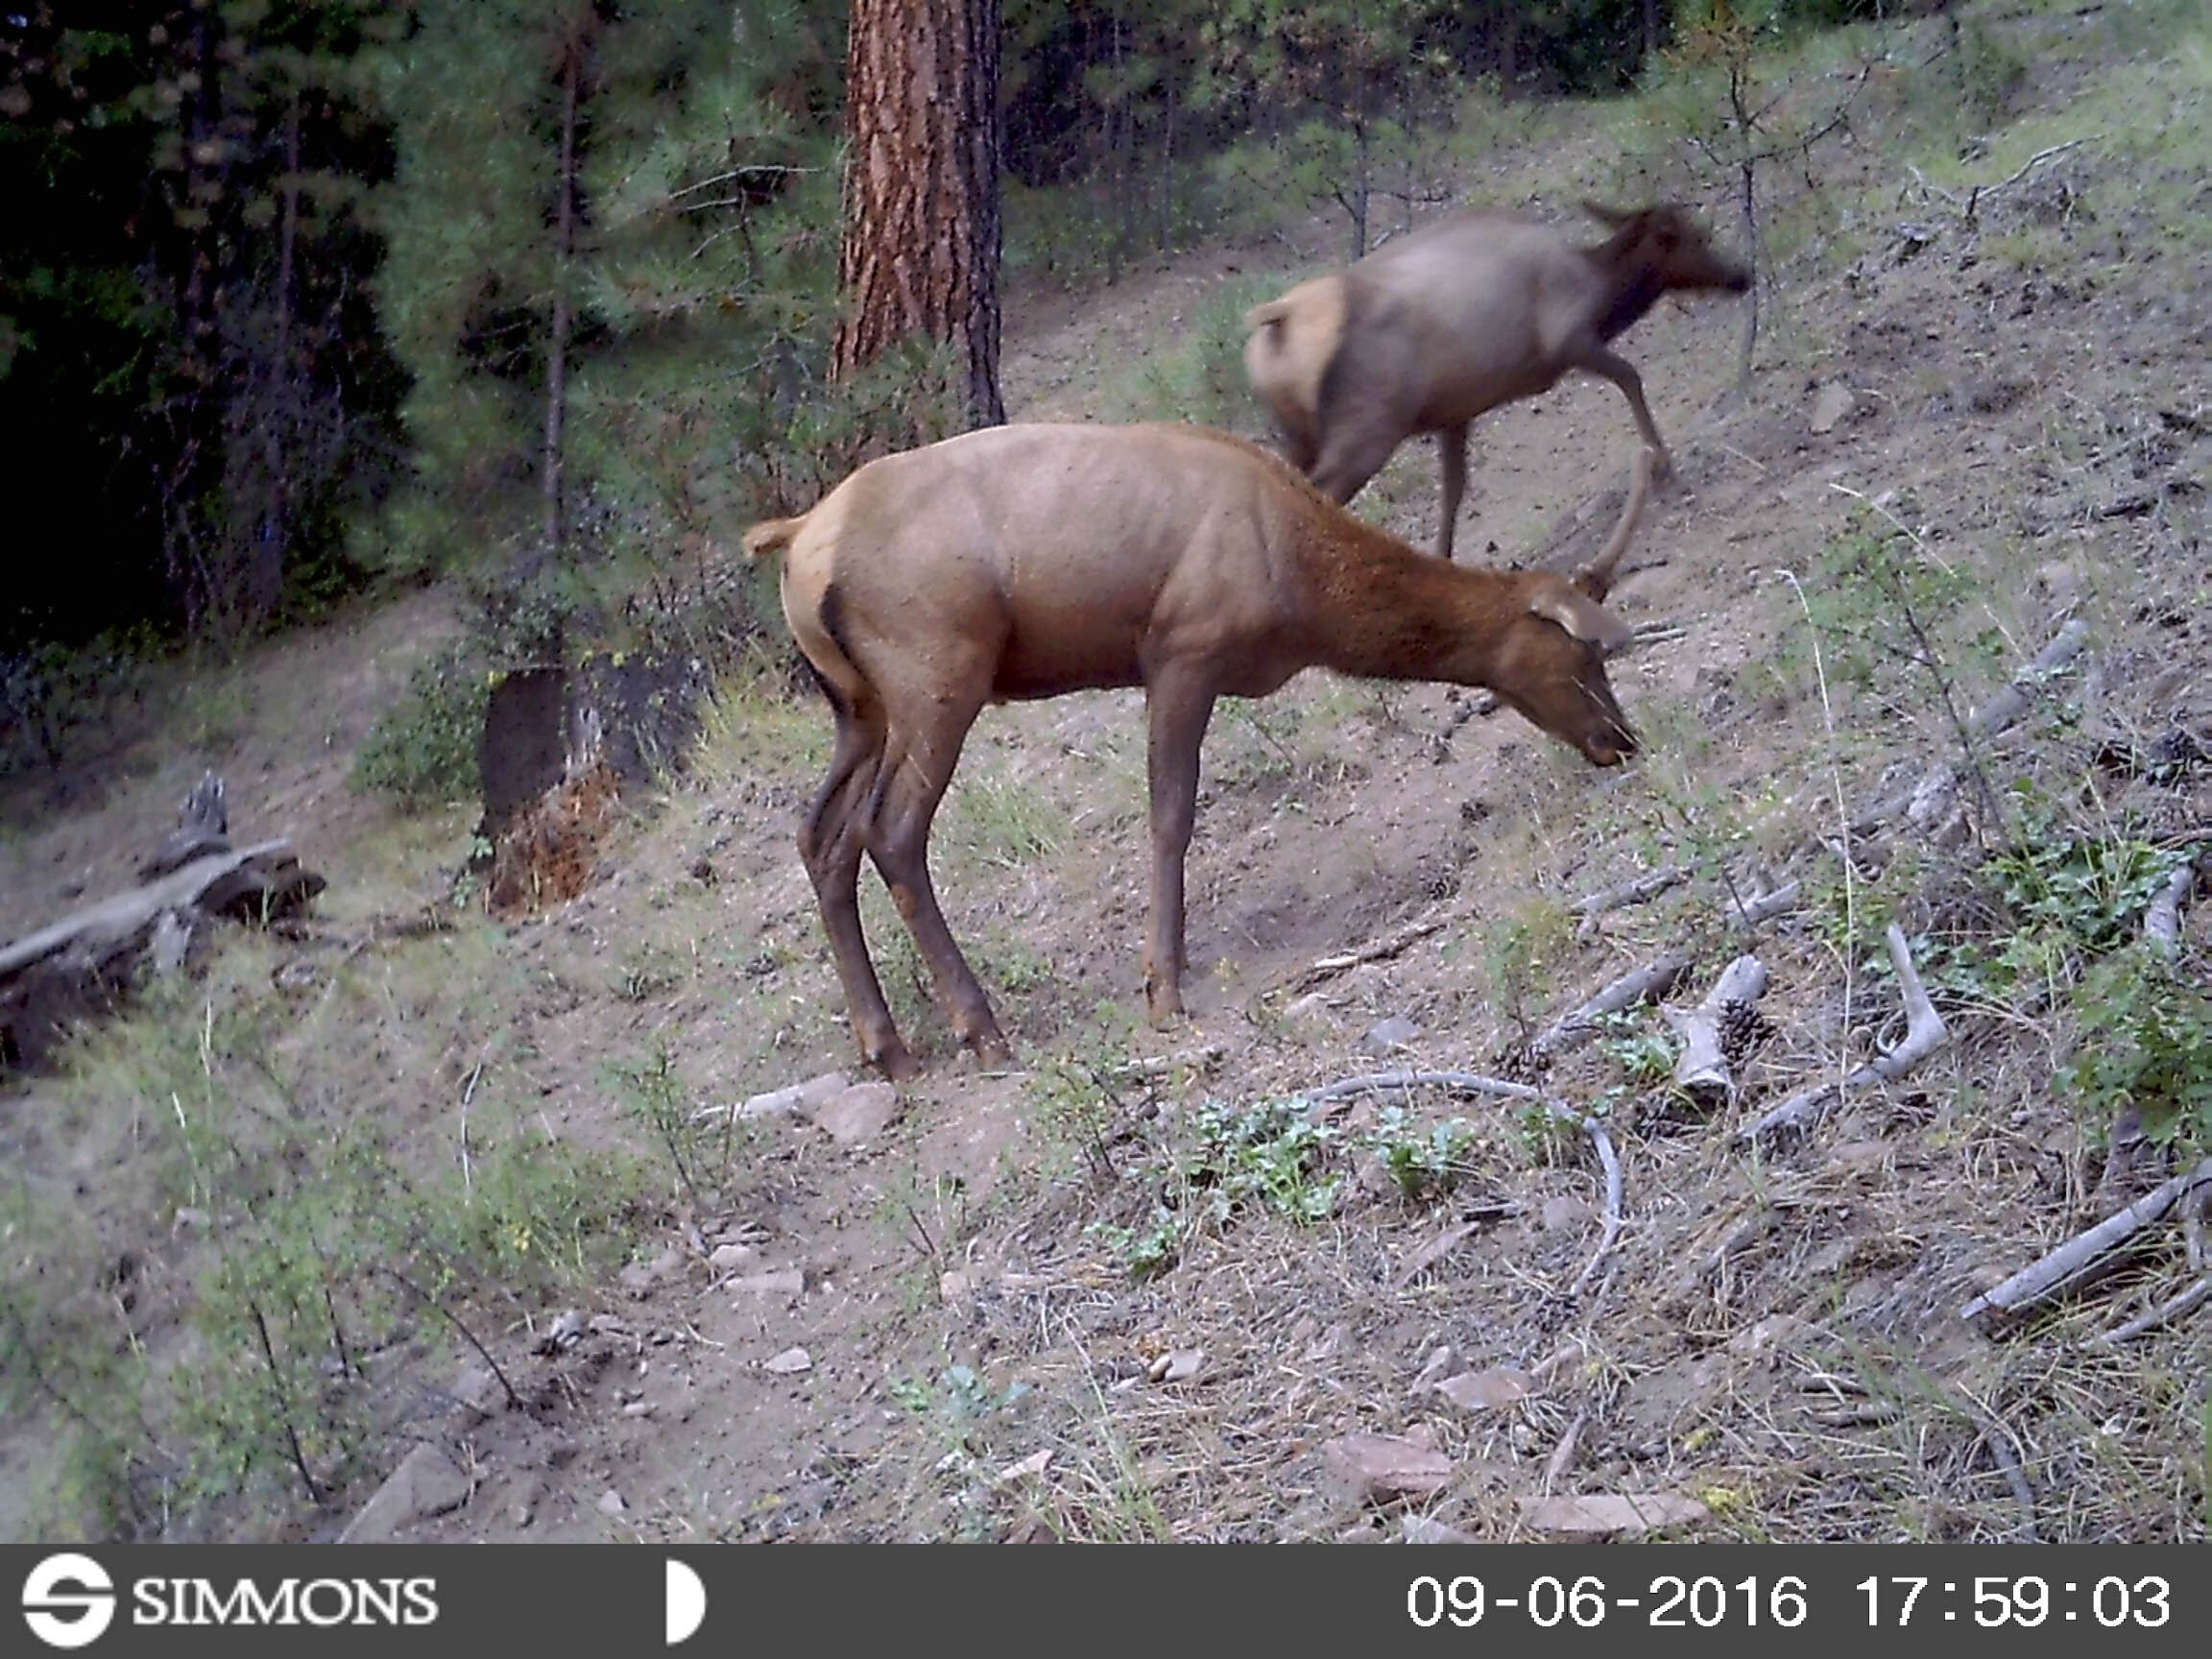
Figure D facing south
Figure D camera was placed on another high traffic game trail. This camera is placed perfectly on the tree far enough away to get multiple shots of passing animals. The height on this camera is about eye level and ended up being just about perfect. Typically that is where I will start when setting a camera, take a few photos and then see if any adjustments need to be made. Early morning shadows were minimal and evening shadows were none existent here. In this particular set up the camera did not have a single false photo meaning it was placed perfectly. 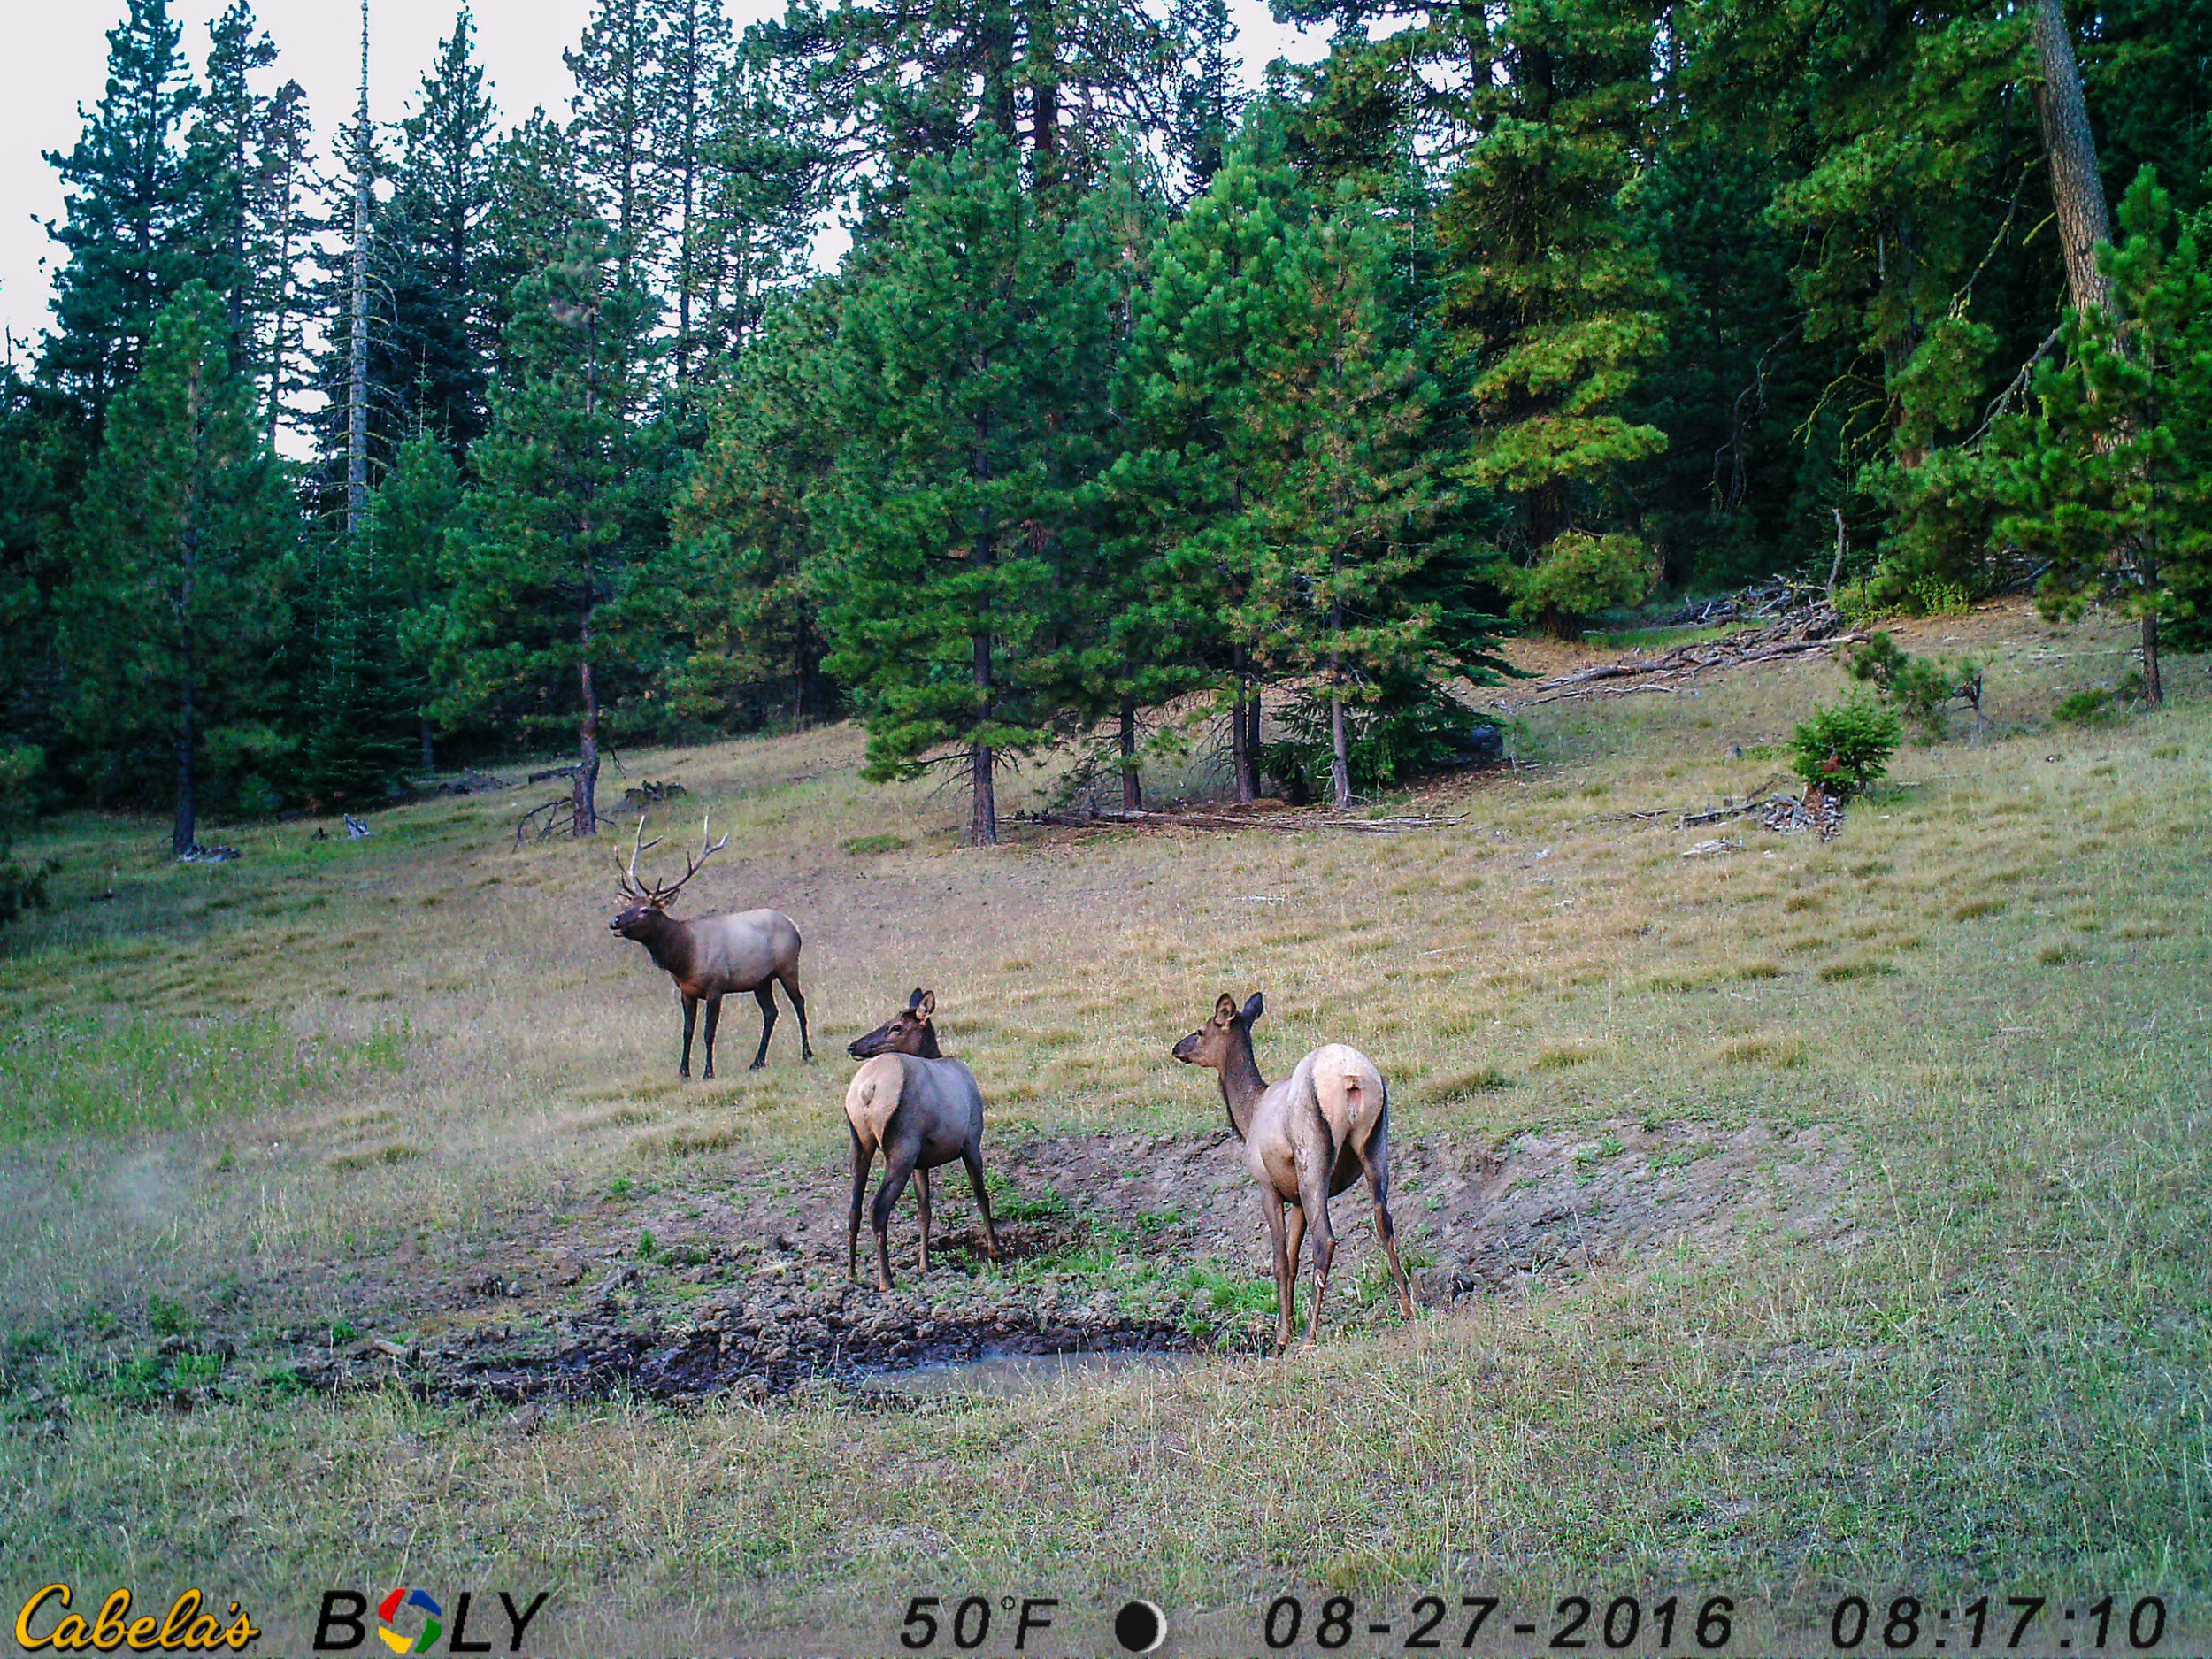
Figure E South west
My final camera and by far most productive camera was placed on a wallow in early July. By early August this wallow was nearly completely dried up so Zack and myself packed in a shovel 8 miles to dig up the wallow, exposing the springs beneath, hoping keep the attention of the nearby wildlife and the soon to be wallowing bulls. Up until late August this camera did not have a single bull on it, but with thousands of photos ranging from the lone cow all the way up to 15 cows or more in a single photo I knew I was in for a treat come the rut as it was only a matter of time before the bulls started to show up.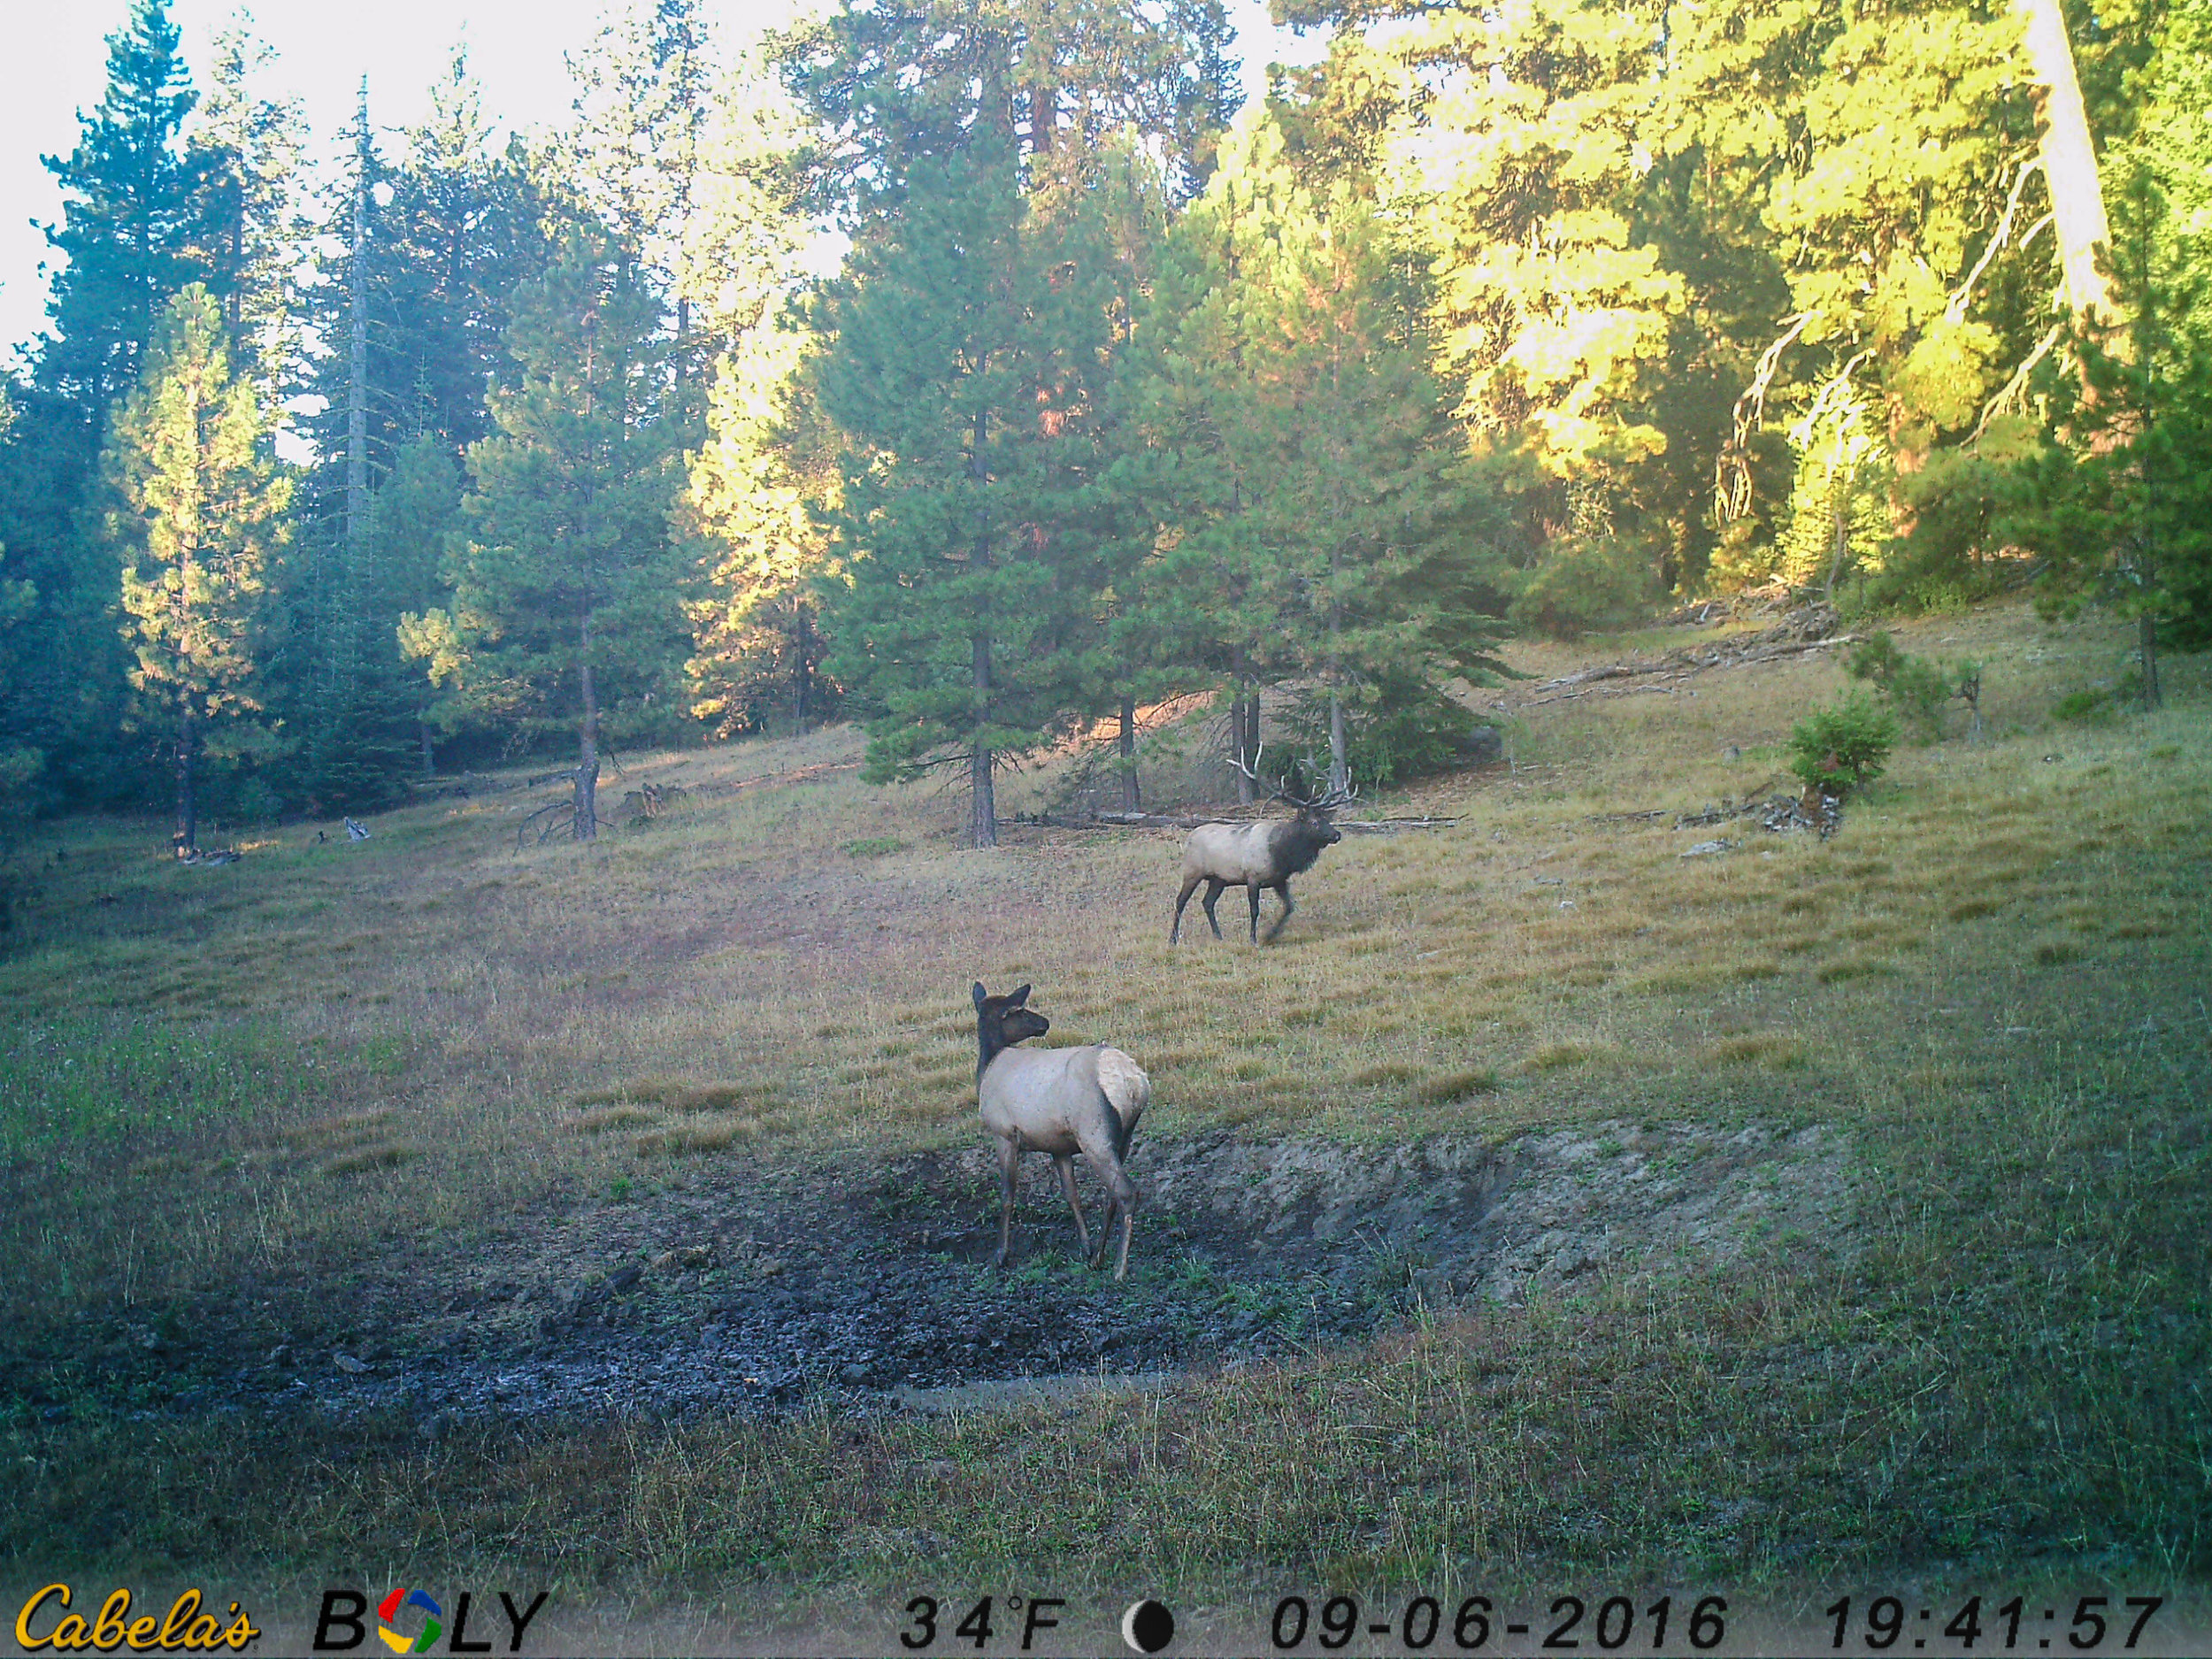
Droppy, our biggest bull, showed up for the first time on 9-6-2016

Big 6
When we returned to our cameras the day before opener we were beyond excited to find these photos. With the game camera positioned in the middle of a meadow facing a wallow there is little interference. The harsh morning shadows on the trees are just too far away to trigger the camera. Over the course of the summer this camera produced over 2000 photos of wildlife and not a single failure.

In conclusion game cameras are extremely useful when used and placed correctly. There will always be some trial and error when placing a camera in a new spot, but keep at it, sometimes the slightest adjustment will make all the difference in picture quality. Remember to watch out for pesky branches and limbs, even if you think its out of the way trim it just to be safe. Pay attention to which way the camera faces for the sunrise and sunset shadows. Look for major game trail intersections to increase your odds of catching animals passing thru. Destination game trails, meaning they lead to something major like bedding, feed or water, should also be high on your target list. Hang the camera eye level or even higher, if you do choose to hang it higher remember to angle it downward with a nearby twig or rock wedged in between the camera and the tree. Salt or feed is very effective but if you are in an area where other hunters are likely to go be careful as that will alert people that a game camera is most likely nearby, increasing the odds of it being noticed or worse, stolen. That being said, I have hung cameras strictly on public land and have never had an issue with one being stolen. Get off the beaten path, go farther, and work hard for those places others will overlook or not be willing to go and you won't have any issues. I hope this blog helps you all getting into game cameras for the first time. I learn something new every time I hang a camera, but with these basic tips you should be well on your way to producing some awesome trail camera photos! Good luck this season, and be sure to let us know how your trail cameras do out there!-Jeff Roberts PNWild
